How to add extra files to your inventory items
If you have additional information you’d like your customers to be able to download when they view your inventory items, you can attach files by editing the item’s Additional Info field.
1. Navigate to the item’s edit page.
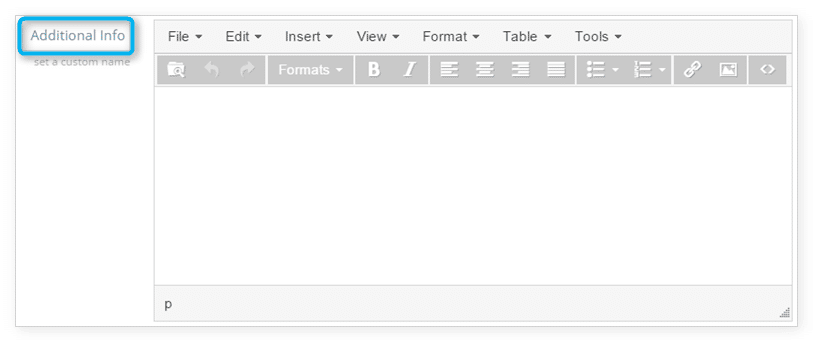
2. In the section labeled Description, locate Additional Info. You can set a custom name for this field.
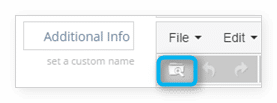
3. Click the Insert File button.
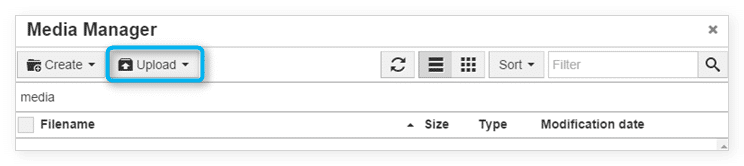
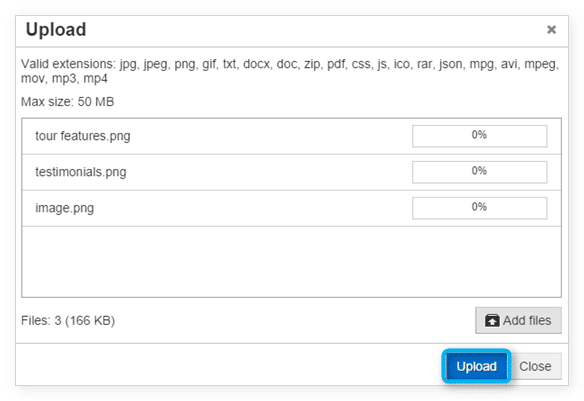
4. In the Media Manager, click Upload.
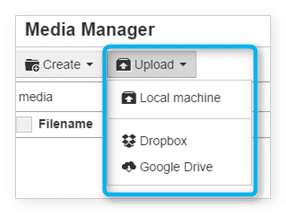
5. Select where you want to upload your file from: your computer, Dropbox or Google Drive.
6. Choose a file that meets the listed file restrictions and follow the upload instructions.
7. Click Upload.
8. Check off the file(s) you want to insert as text links or embedded images into your Additional Info field.
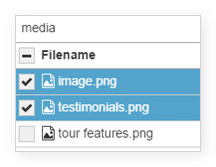
9. Click Insert.
10. Once you finish making changes to the Additional Info field, scroll down and click Save Changes.