How to create a stock order
When you order merchandise stock from your providers, you can track that order in Rezgo. Merchandise on a stock order can be easily added to existing stock.
First, navigate to Merchandise > Stock Order. If that menu item isn’t available, your user account may not have access, or you may need to enable it by customizing your menu layout.
1. Click Create Order.

2. Enter the order details. These fields are for your reference.
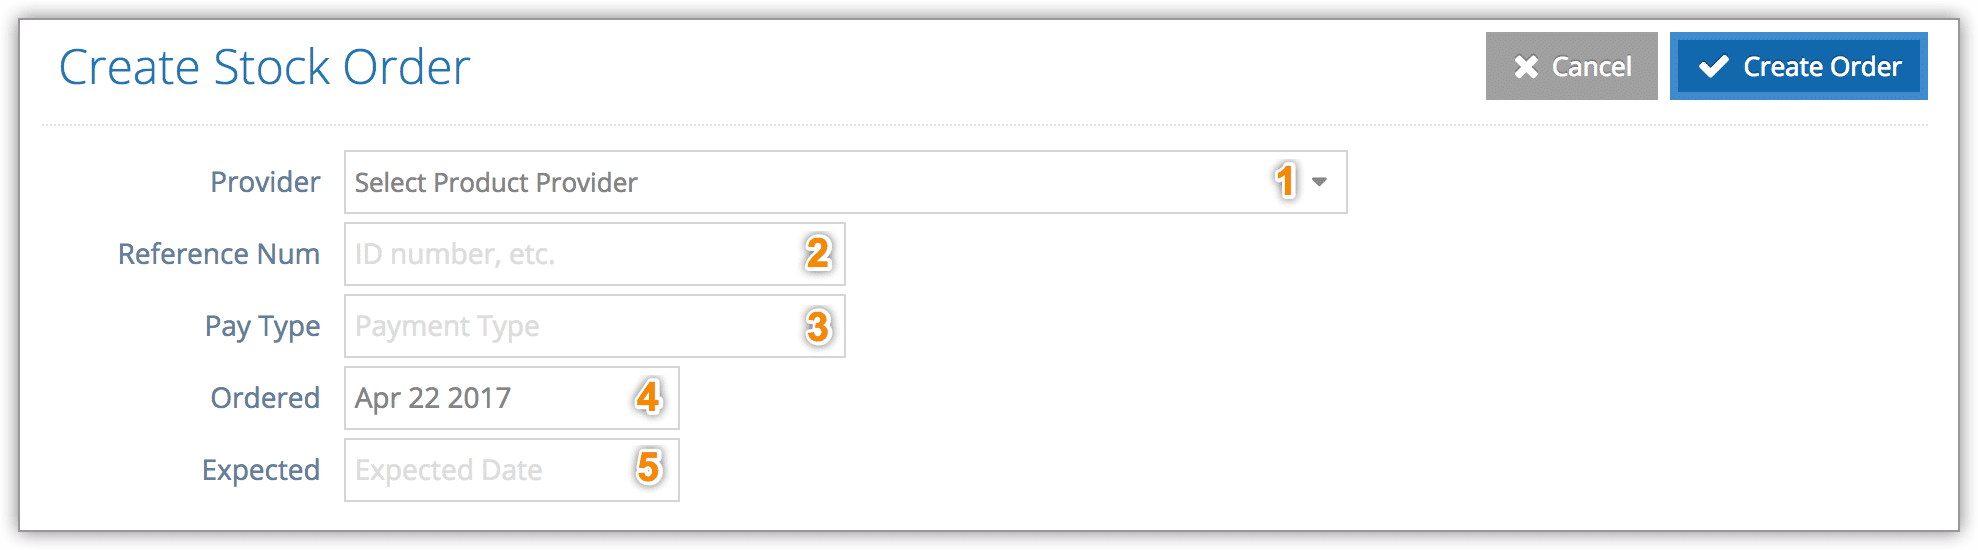
- Provider: Select from your list of product service providers (1).
- Reference Num: Order number or other ID (2).
- Pay Type: The payment type used in the order (3).
- Ordered: The date the order was placed (4).
- Expected: The date the order is expected to arrive (5).
3. Select the stock destination. If you select Desk Stock or Location Stock, you’ll be able to select the desk or location that the stock should be delivered to. Desk Stock and Location Stock will be assigned to the selected desk or location when the stock order is received.

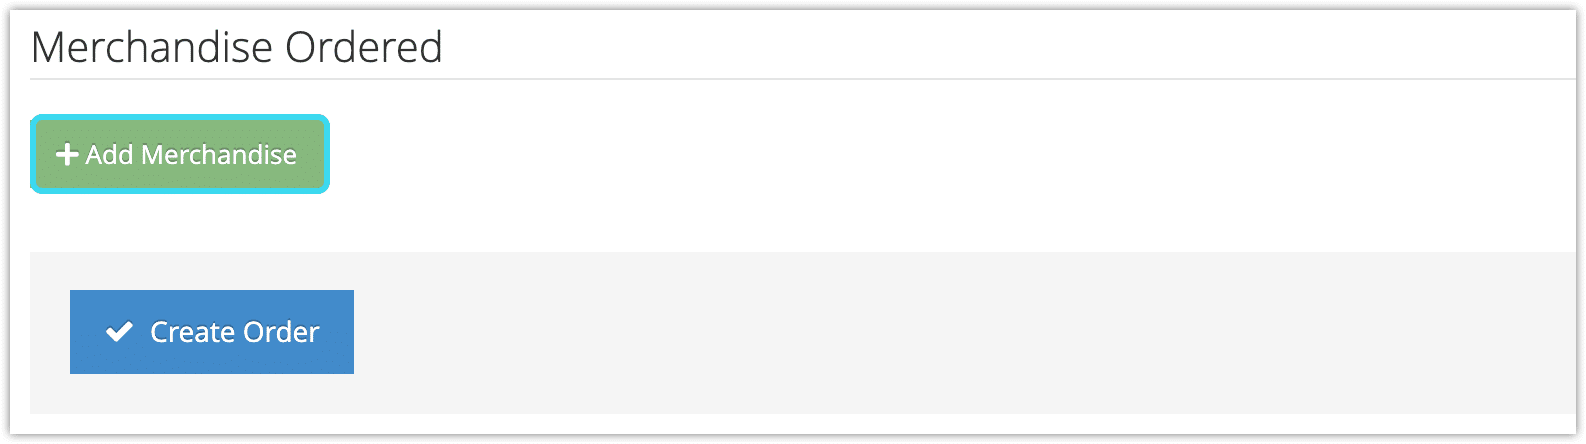
4. Click Add Merchandise.
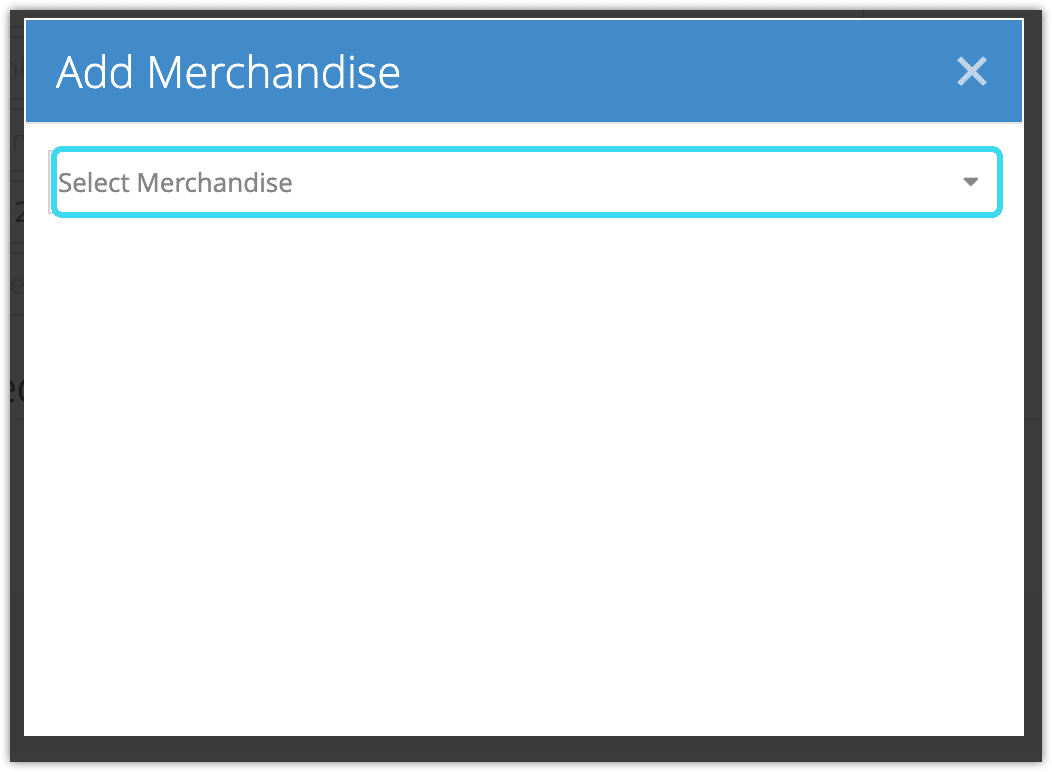
5. Select from your published merchandise.
6. Select the variant options.
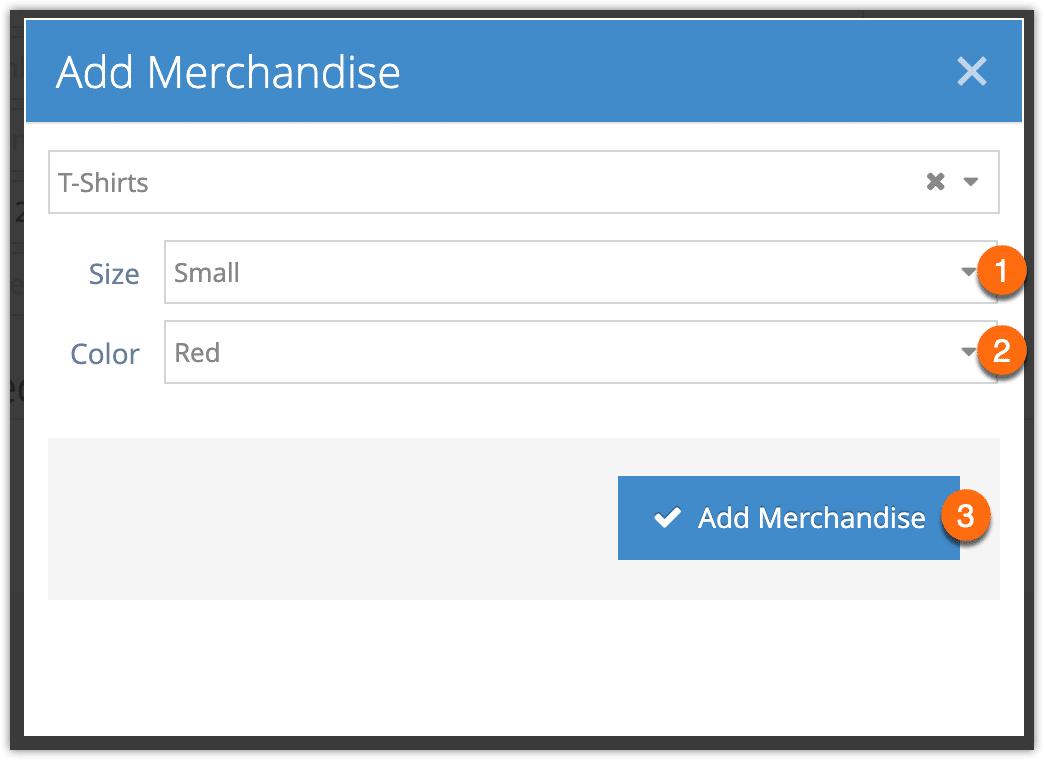
7. Enter the order details.
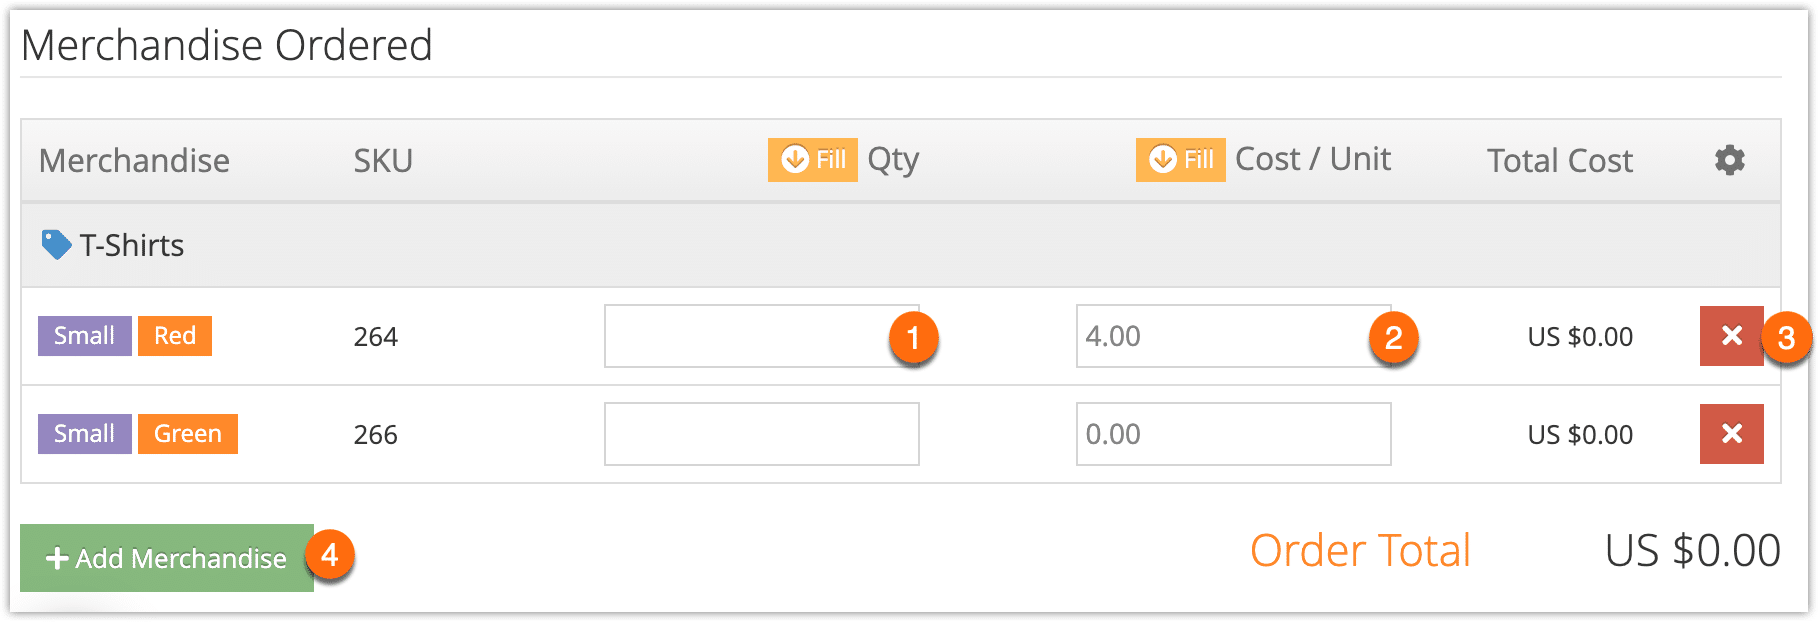
- Enter the quantity ordered (1).
- Enter the cost per unit (2).
Click the red X to remove any unnecessary rows (3).
Click Add Merchandise to add any additional skus to order (4).
8. Click Create Order.