


How to use Rezgo in Kiosk Mode
If you want customers or agents to be able to book quickly on location, Rezgo offers an easy-to-use kiosk mode that’s designed for on-site tablets.
There are a few things to know about kiosk mode:
- You can set up multiple kiosk views if you want kiosks to show different inventory or layouts.
- Kiosk bookings are billed at your back-end rate.
- Payments for kiosk bookings can currently only be taken directly with compatible terminals.
- You can find a list of payment gateways that support terminals on this page, under EMVs in the feature list. To take payments after the booking, you can also send payment requests.
Set up your kiosk view
To set up your kiosk, go to Settings > Kiosk Views.
1. Click Create Kiosk View.

2. Give your kiosk view a name (A). This title will be shown on the kiosk view, so make sure to give it a customer-friendly name.
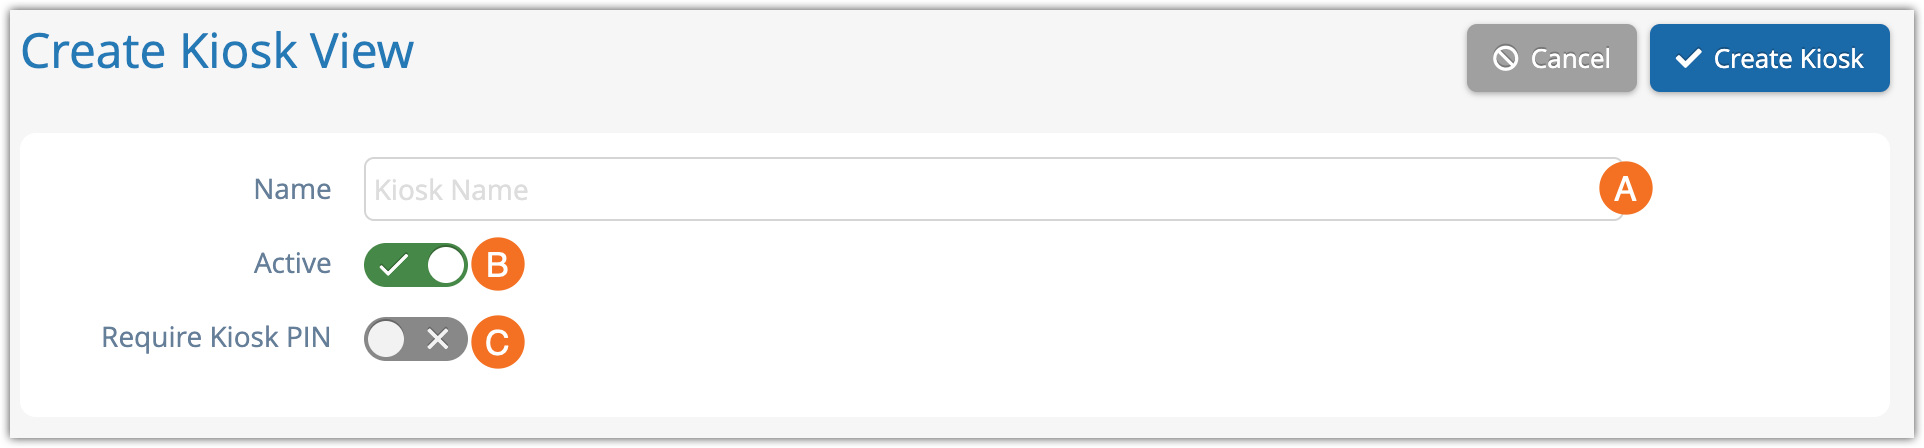
3. Toggle whether your kiosk should be active or inactive when you create it (B). If you want to set it up but leave it disabled so you can use it later, toggle it to inactive.
4. Toggle whether or not your kiosk requires a PIN. This is a security feature that will help you limit who can access your kiosk view.
If you enable a kiosk PIN, enter (a) or generate (b) that PIN now.

Set up your kiosk’s design
Now you can decide how your kiosk should look.
5. In the Return Home field (A), select how long the system should wait after someone uses it before forcing the view back to the main view. You can choose from 10, 15 or 20 minutes, as well as 1 hour.

6. In the Default Date field (B), select whether the kiosk should show today’s available inventory or tomorrow’s.
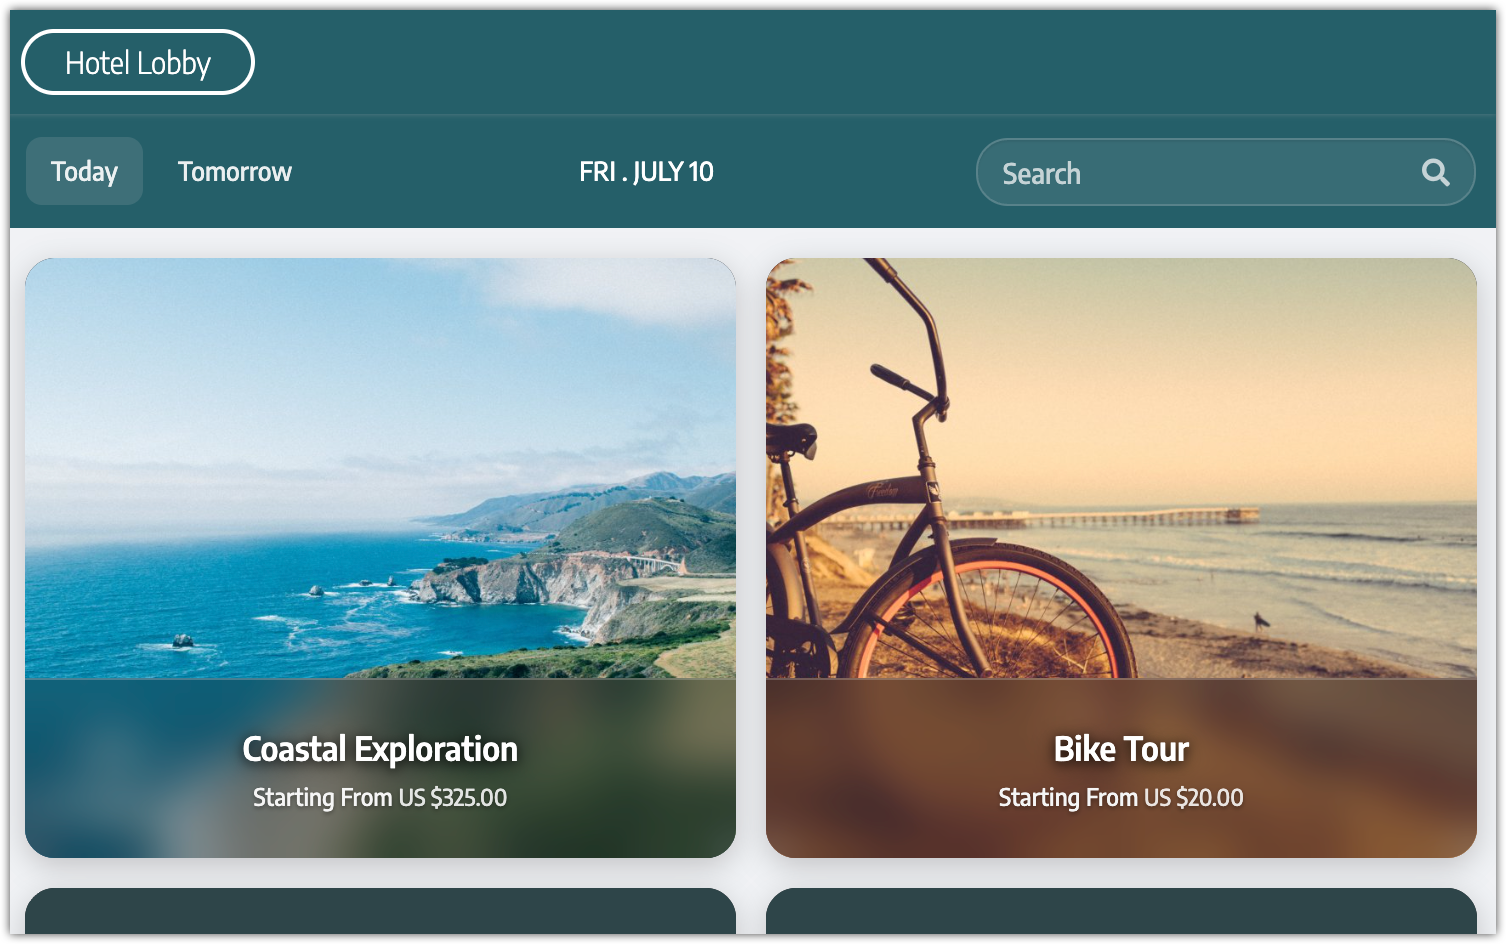
7. Pick your Layout (C). Compact Cards show inventory in an image-focused grid layout. Extended Rows are similar to the front-end list view, showing images and some inventory details.
Add inventory to your kiosk
Now you can decide how inventory should be included in your kiosk view.
8. In the Private Items field (A), choose whether private inventory should be hidden or shown.

9. In the Booking Cutoff field (B), decide whether to follow your standard booking cutoff times or ignore them.
10. Choose whether or not your kiosk should restrict inventory (C). If you do want to restrict inventory, select which inventory options it should include.
Configure your kiosk’s behavior
Next, you can set up how your kiosk will assign its bookings. If you leave these with their default settings, the bookings won’t be assigned to any users or desks.
11. Under Book as User (A), you can pick a user to assign this kiosk view’s bookings to.

12. Under Book as Desk (B), you can pick a desk to assign this kiosk view’s bookings to.
In the Checkout section, you can decide how the kiosk’s checkout flow should work.
13. Under Booking Status (A), you can choose whether the kiosk bookings’ status will be set automatically, always set to Received, or always set to Pending.

14. Under Booking Contact (B), you can decide how much information to collect from the customer.
Generally, you should collect the guest’s name and email so you can contact them, identify them and send receipts, but you can disable this if needed.
15. In the Receipts (C) field, choose whether to send receipts by email or not at all.
If you’re taking payments from your guests, it’s always a good idea to send a receipt.
Customize your kiosk theme
Finally, you can set up the kiosk’s theme. The default dark theme and light theme are already set up to be a nice way to display your bookings, but you can also customize your kiosk with your brand colors.
16. Under Type, pick Dark Theme, Light Theme, or Custom Theme.
17. Click Create Kiosk when you finish customizing your kiosk view.
How to add a terminal to your kiosk
If you already have a supported terminal with your payment gateway, you can use the terminal to take kiosk payments.
1. View your kiosk’s details page.
2. Click Attach a Terminal under Terminal Payment Method.

This button will only be available if your gateway supports terminals.
3. Click the terminal you want to add.
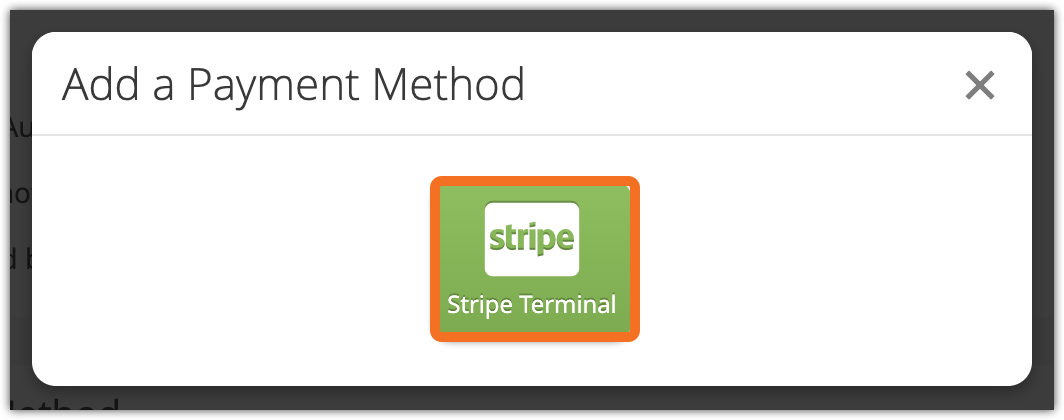
Follow the instructions for setting up a terminal. You can find instructions for setting up Stripe terminals here or setting up Square terminals at this link.
How to use a kiosk view
Once you create a kiosk view, you’ll be taken to its details page. From there, you can get the kiosk’s web slug.
Click the Copy button to copy the kiosk URL to your clipboard.
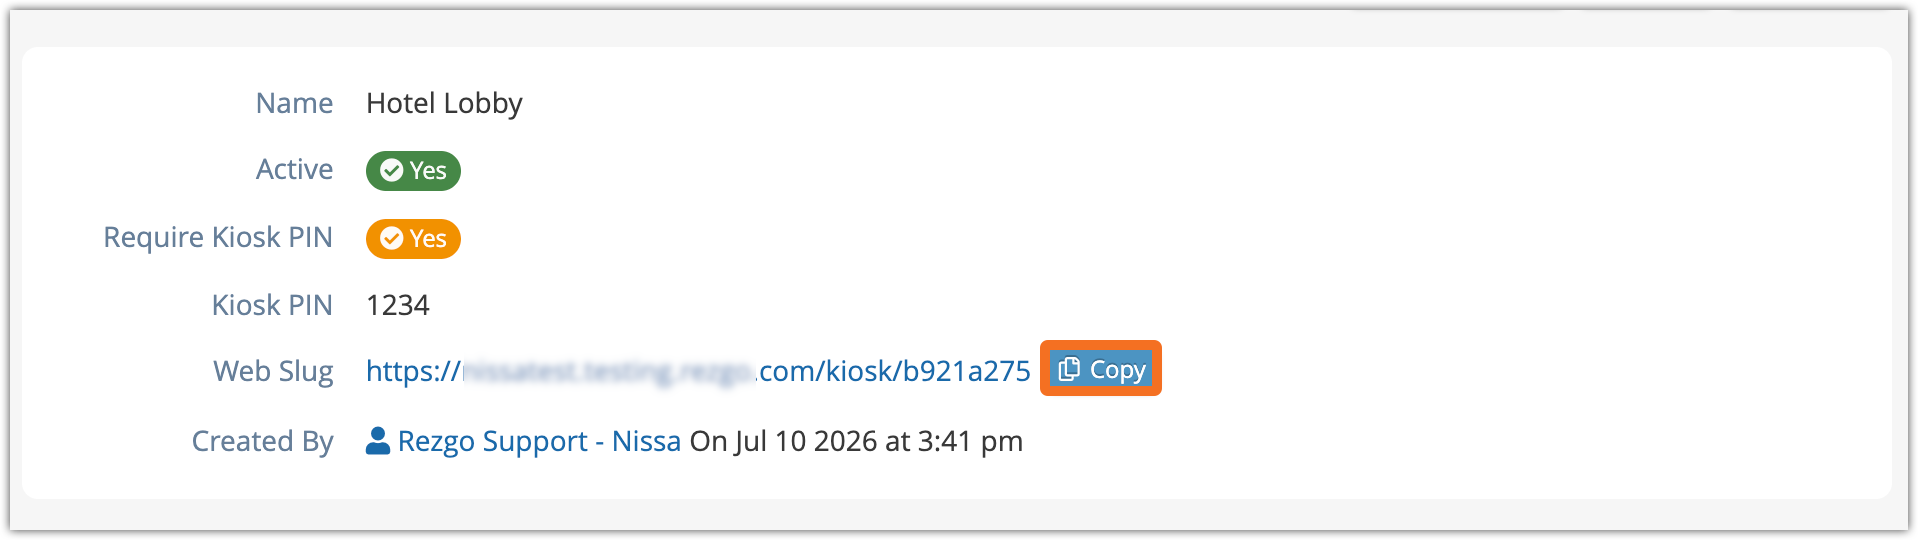
Now, open that URL on the device you want to use for your kiosk.
If you set up a PIN, you’ll be asked to enter it here:
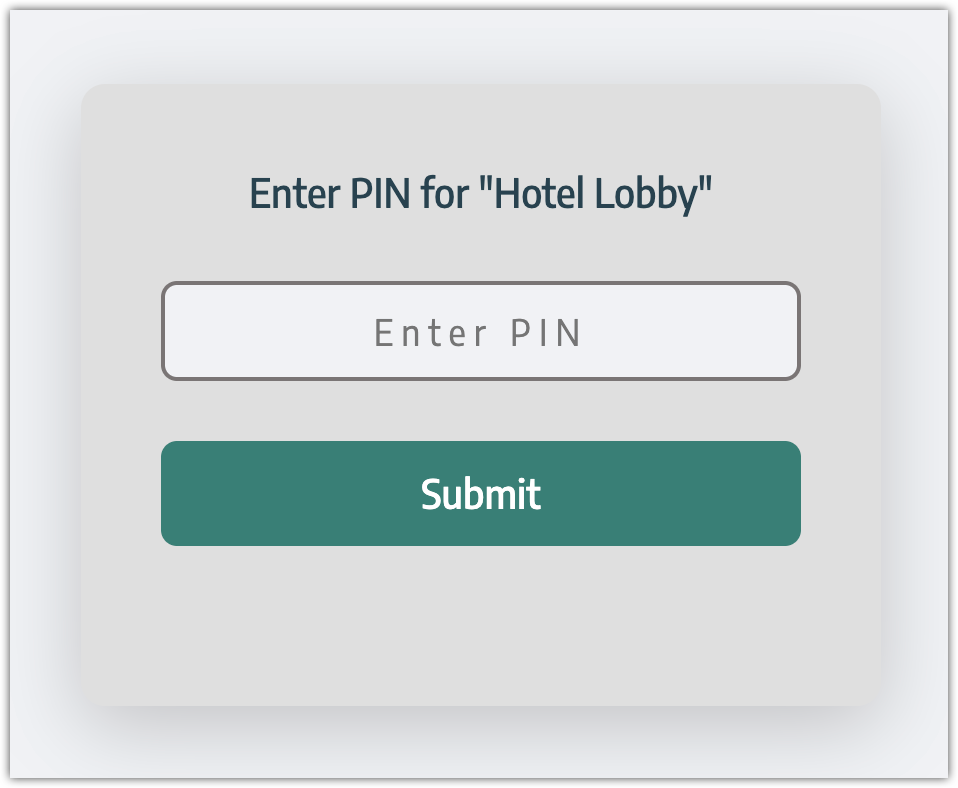
Next, you’ll be shown your kiosk view. You can review it to make sure that it includes the inventory you intended and looks how you want it to look. You can also run through the booking process–just don’t forget to cancel your test bookings.
How to improve your kiosk experience
There are two more things you can do to make your kiosk view a better experience for your guests.
First, you can save your kiosk to your device an app:
- Here are Apple’s instructions for saving a web page as an app on iPad.
- Here are Google’s instructions for saving a web page as an app on Android.
Next, you can restrict the device to just using that one app:
- Here are Apple’s instructions for locking an iPad to a single app.
- Here are Google’s instructions for pinning an app on Android.
By taking these extra steps, you can keep guests from navigating to other websites or apps while using your kiosk view, ensuring a smooth checkout experience.